Axpert 11
TStructs (Forms)
- Create Form
- Create DC
- Create Fields
- Grid DC/frames
- Formulae in fields
- SQL in fields
- Drop down fields
- Autogenerate fields
- Table fields
- File upload fields in forms
- Photos &Image fields
- Barcode /QR Code Scanner
- Fill Grid
- Posting data – Gen maps
- Updating fields in DB tables – MD Map
- Toolbars in tstructs
- Tracking changes/Audit trial
- Try it yourself
IViews
Scripts
Axpert Jobs
Axpert Cards
HTML Plug-ins
Users & Roles
- Users, roles & responsibilities
- Responsibilities
- User Role
- User Login
- SSO Authentication
- Stay Sign In
Workflow
Axpert API
Application Var/Params
Publish Axpert Apps
Axpert Mobile
Settings
- Axpert installation
- Change password
- Forgot Password
- Developer Options
- Global Settings
- In-Memory DB
- Notifications for Long Running Webservice’s
- Axpert Configuration on web
- Axpert Licensing
Utilities
Customization
- Main Page Customization
- Home Page Customization
- More API
- Custom User Interface
For Reports - Custom HTML In Forms
- CSS And JS Customization
- Developer Notes
- Hooks In Forms
- Third Party SSO Integration
WebServices
Axfast
Create Fields
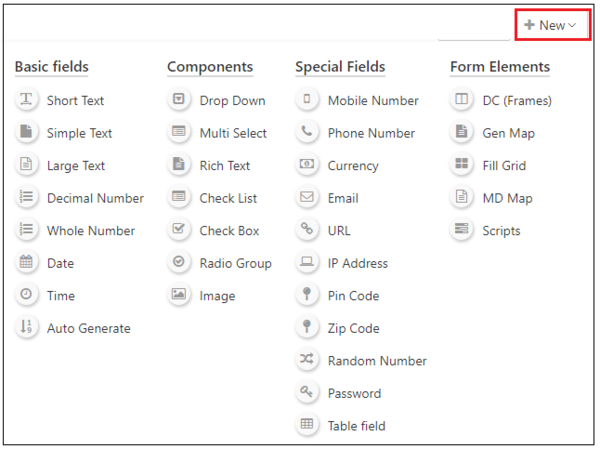
Once a DC is created, you can start creating fields by selecting from the available options under the New. Select the field type as per need. Most field types are self-explanatory. The advanced fields like table fields & the form elements will be described in later sections.
If you want to display additional details about the field with instructions, use the Purpose/Help Text option in the dev site.
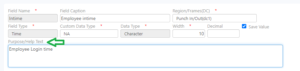
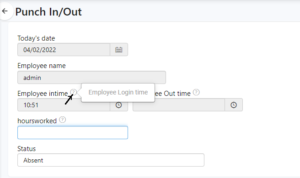
Help text appears as a ? in the field name area as shown on the run time.
Save a tstruct
Once your form elements are created, Click on the Save button in the top toolbar. This will save the tstruct and will be available at run time. After Save, use the Form Design option to design the form. The Form Design need not be done if a tstruct is not published as a form to the user.

Try Out
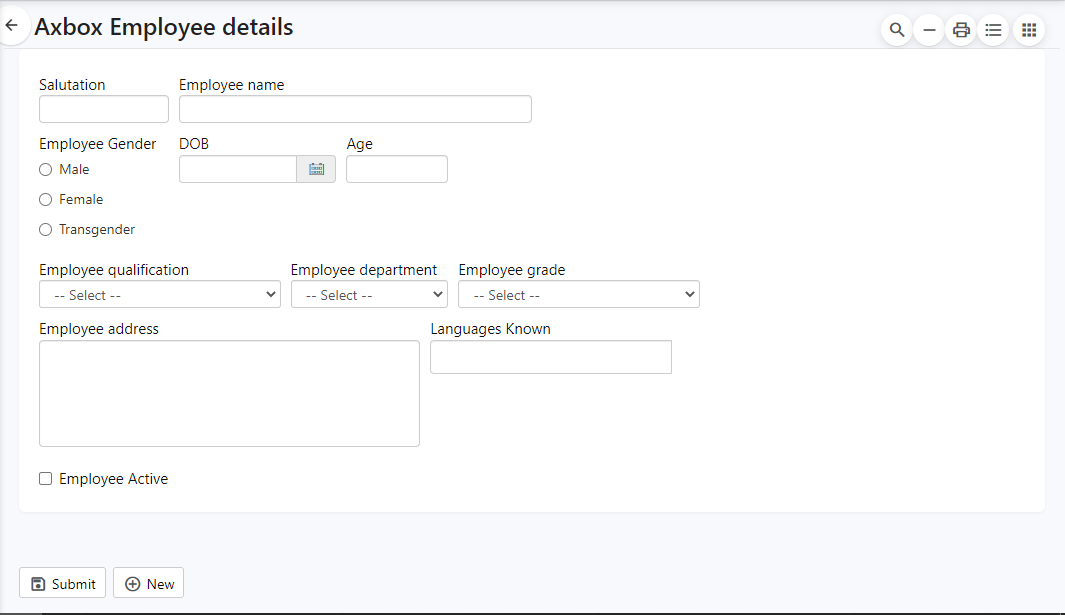
In the Employee details DC you have created, Add fields like Employee Name, Gender, Date of Birth, Age, Qualification. Pick suitable field types and create them, Save the form after completion.
Create Field in run time (11.2 & above)
On the developer site, create a button in the toolbar “Add New Field” and save the structure.

Visit the Run site and go to the created tstruct. Click on options and click on add new field button.
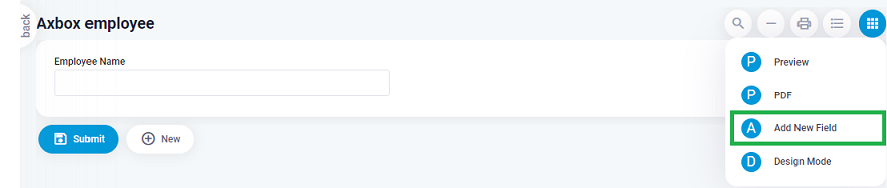
An axpert developer screen to add new field appears.

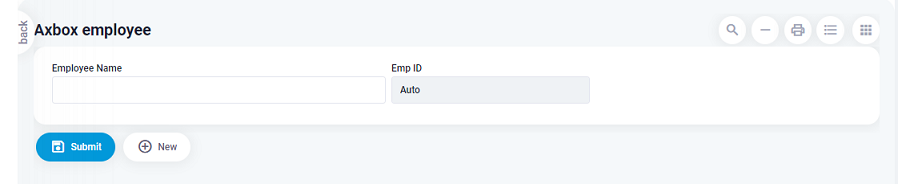
Insert the necessary details and submit. Go to the run site and refresh the form.
Remove Field in run time (11.2 & above)
Go to the axpert developer page where the field was created and click on the remove button.

Visit the run site and reload the tstruct

Mask and Unmask field data
To mask the characters in the field, use the mask option available in the display property section of the said field.
For example, select Mask as “Mask all characters” from the dropdown
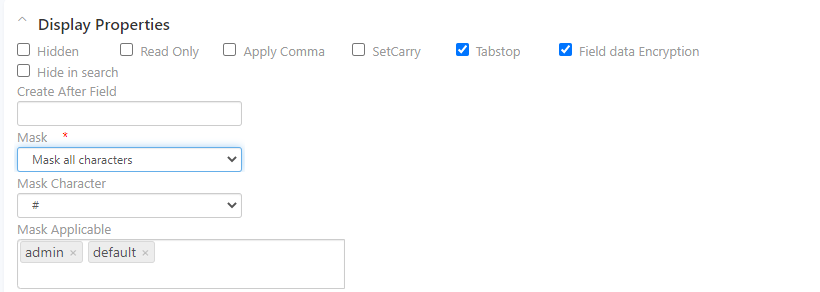
Make sure that the field data encryption is enabled.
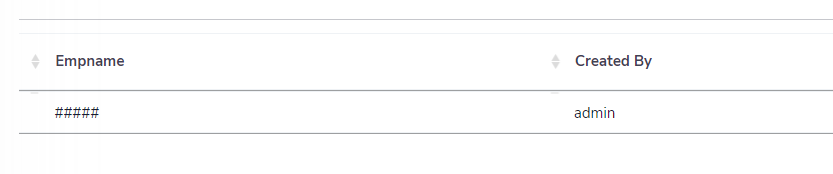
As displayed all the characters are masked.
Now, to mask few characters use the “Show few characters” option from the dropdown
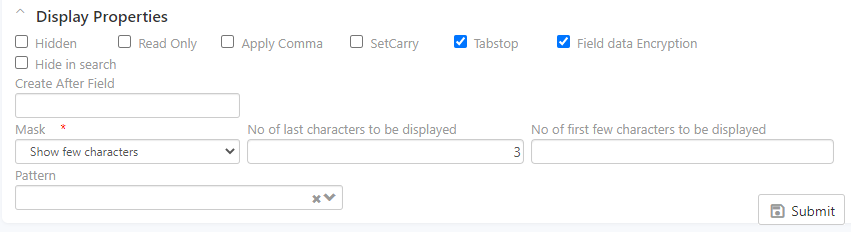
The result will be as follows

To unmask all the characters in the field, use “No mask” option from the drop down
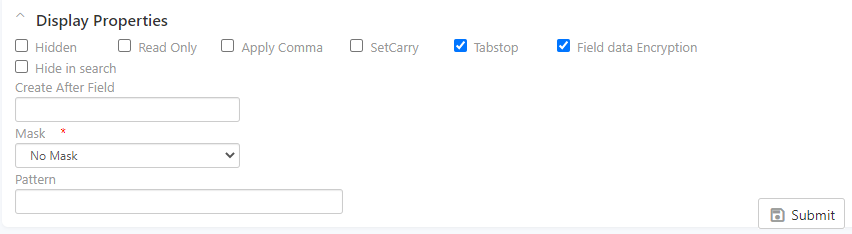
The result will be as follows.
See it working
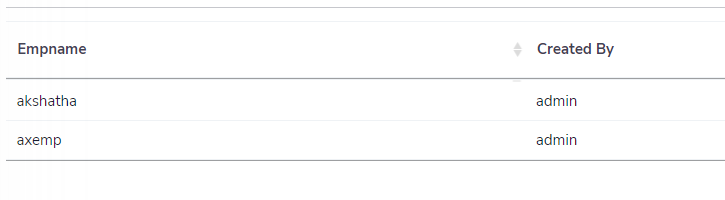
Login to www.agilecloud.biz/run using the given credentials. The form will be automatically added to the menu. Click on it, and see it working. Axpert manages all the functionality related to the saving, listing, searching, editing & deleting data in the form.