Axpert 11
TStructs (Forms)
- Create Form
- Create DC
- Create Fields
- Grid DC/frames
- Formulae in fields
- SQL in fields
- Drop down fields
- Autogenerate fields
- Table fields
- File upload fields in forms
- Photos &Image fields
- Barcode /QR Code Scanner
- Fill Grid
- Posting data – Gen maps
- Updating fields in DB tables – MD Map
- Toolbars in tstructs
- Tracking changes/Audit trial
- Try it yourself
IViews
Scripts
Axpert Jobs
Axpert Cards
HTML Plug-ins
Users & Roles
- Users, roles & responsibilities
- Responsibilities
- User Role
- User Login
- SSO Authentication
- Stay Sign In
Workflow
Axpert API
Application Var/Params
Publish Axpert Apps
Axpert Mobile
Settings
- Axpert installation
- Change password
- Forgot Password
- Developer Options
- Global Settings
- In-Memory DB
- Notifications for Long Running Webservice’s
- Axpert Configuration on web
- Axpert Licensing
Utilities
Customization
- Main Page Customization
- Home Page Customization
- More API
- Custom User Interface
For Reports - Custom HTML In Forms
- CSS And JS Customization
- Developer Notes
- Hooks In Forms
- Third Party SSO Integration
WebServices
Axfast
Events in a form
An event is an occurrence of an action that can be triggered or generated by the system. To trigger events in Axpert use the form load check box available in the scripts.
Form Control Enabled
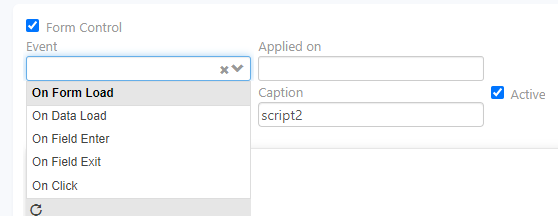
We have the following options when the form control is selected.
Create a Script with a suitable name and enable form control by selecting the check box
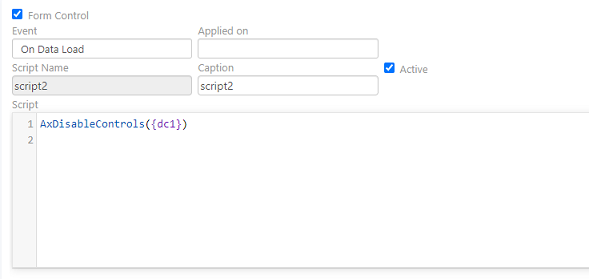
1. Choose ‘On Data Load’ from the dropdown
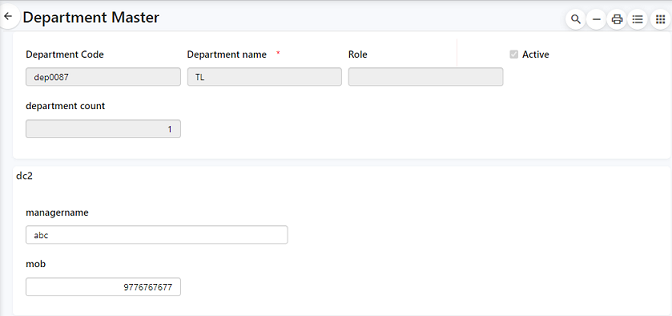
In the above image, the script includes a function to disable control on fields of dc1 in department master. Go to the run site, find the department master form, and open the List view. Try loading details of one row by clicking on it. This will display the fields of dc1 which are disabled in the form.
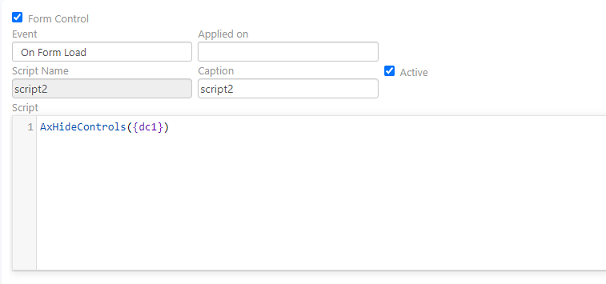
2. Choose ‘On Form Load’ from the dropdown.
3. Choose ‘On Field Enter’ from the dropdown.
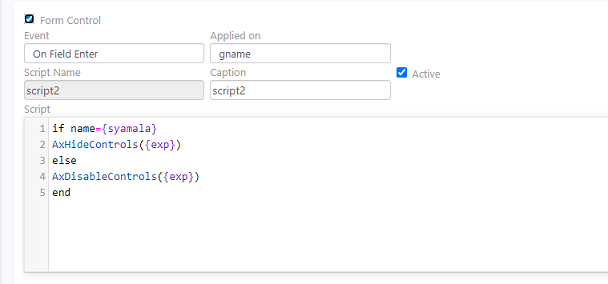
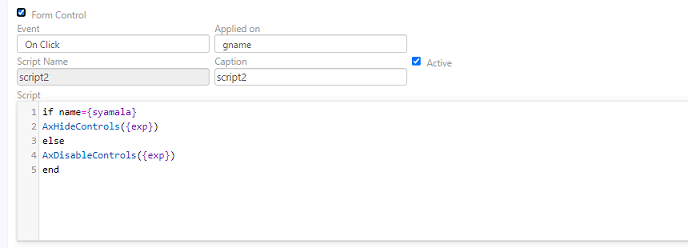
condition 1 – if name={syamala}
AxHideControls({exp})
condition 2 – else
AxDisableControls({exp})
end
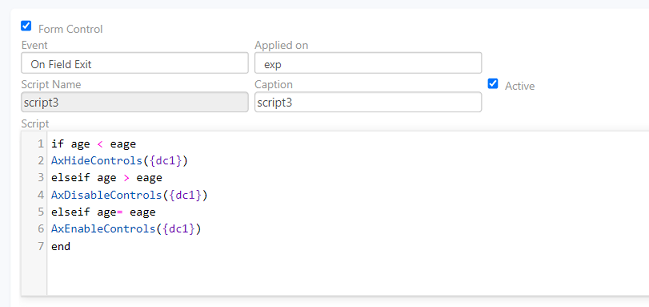
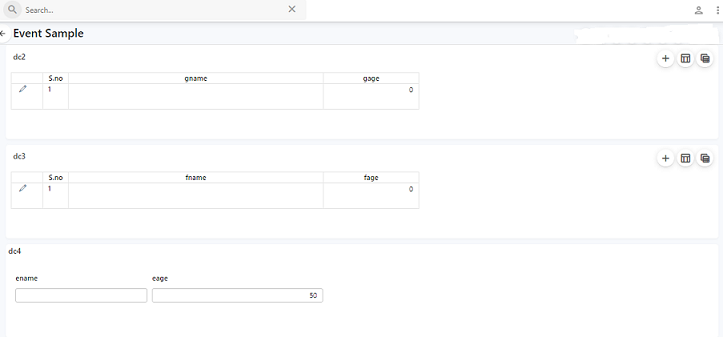
4. Choose ‘On Field Exit’ from the dropdown
Condition 1- if age < eage
AxHideControls({dc1})
Condition 2 – elseif age > eage
AxDisableControls({dc1})
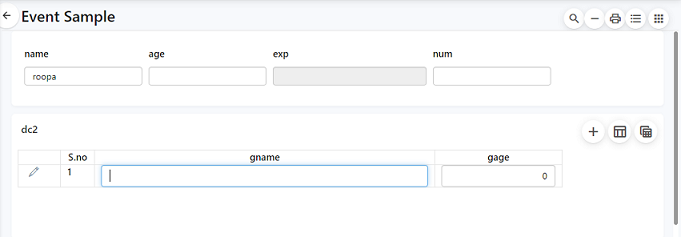
5. Choose ‘On Click’ from the dropdown.
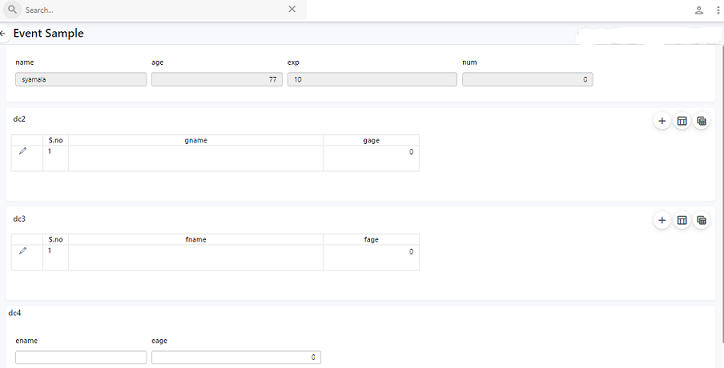
On click of gname field in the run site, the exp field should be hidden or disabled based on the conditions.
Another example to hide and unhide the fields using the form control AxHideControls and AxUnhideControl is as follows:
Create a Script with a suitable name and enable form control by selecting the check box
1. Choose ‘On Data Load’ from the dropdown
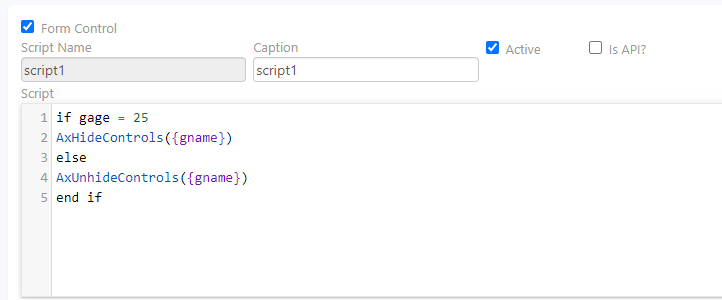
In the above image, the script includes a function to hide control on gname.
Go to the run site, find the form, and open the List view. Try loading the details of one row by clicking on it. This will display the fields of the dc which are hidden and unhidden.
When the age is less than 25 gname is displayed.
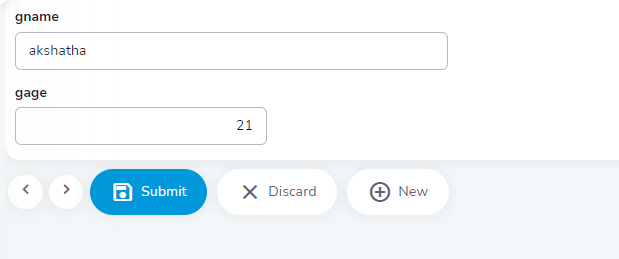
Whereas when the condition is met the gname is hidden

AxDcCollapse & AxDcExpand
Form control functions named ‘AxDcCollapse’ & ‘AxDcExpand’ are introduced.
These functions can be used to control the state(expand/collapse) of BooleanDC through script
Note:
AxDcCollapse({dcname})
AxDcExpand({dcname})
Write a script with a function to expand or collapse on the selected form control event, and save the structure.
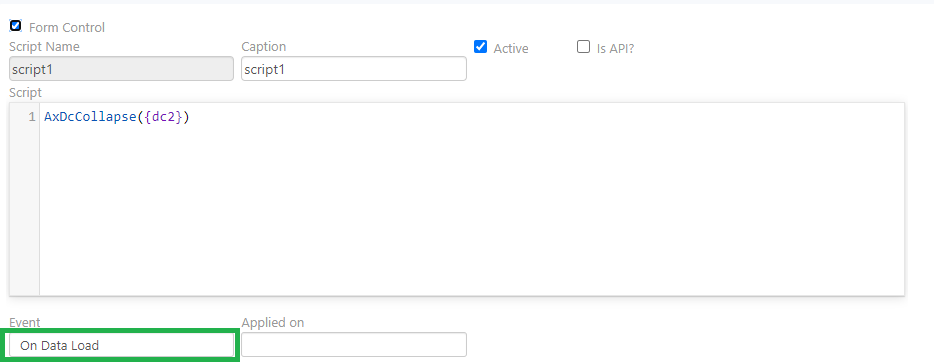
Visit the run site, enter data and submit, then load an entry to find the DC in expanding or collapse state.

AxAllowEmpty
This function can set the property of a field/fields to make the mandatory or not
AxAllowEmpty({fld1, fld2},T) – This will make the fields fld1 and fld2 are non-mandatory.
AxAllowEmpty({fld3, fld4},F) – This will make the fields fld3 and fld4 are mandatory.
For example:

In the above form, define scripts in the form.
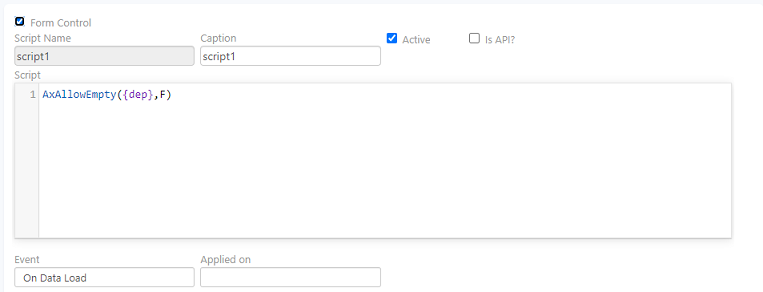
and
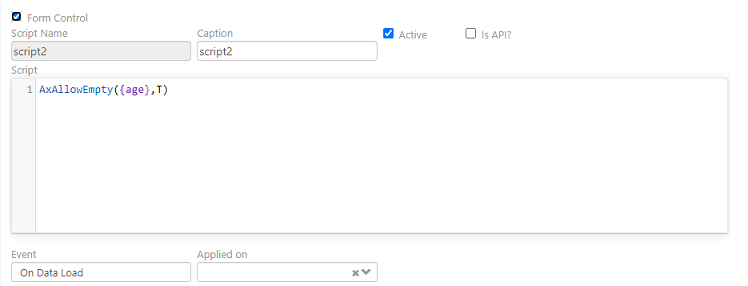
Based on the script the age field should be non-mandatory and the department field should be mandatory.

AxReadOnly
A form control function name ‘AxReadOnly’ was introduced to achieve read-only transactions during form load.
Ex.: AxReadOnly()
Define a script in the form
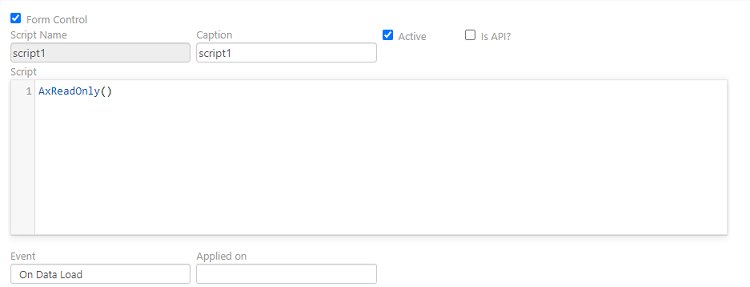
The fields will be disabled on data load

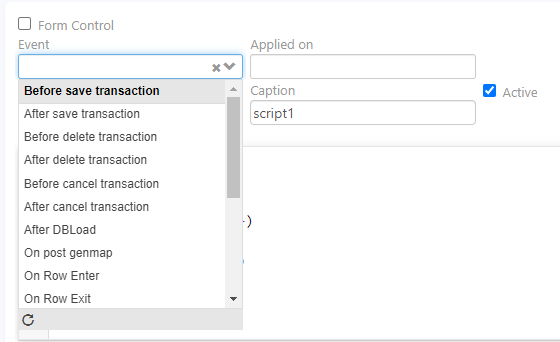
Form Control disabled
When form control has not been enabled the options available are shown below
1. Click on ‘Before Save Transaction’ from the dropdown.
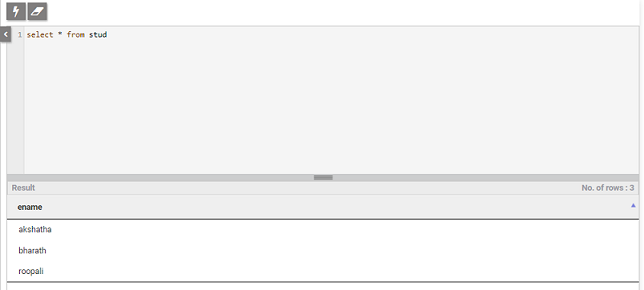
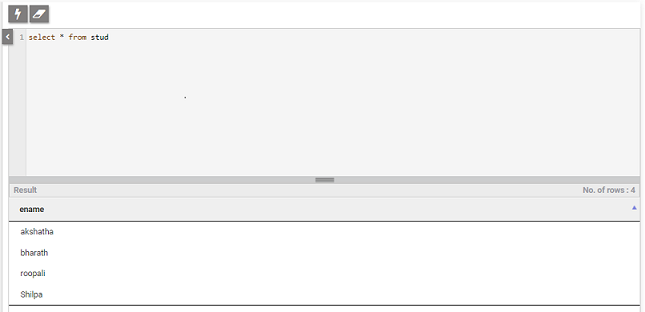
In the table named ‘stud’, currently, there are three entries.
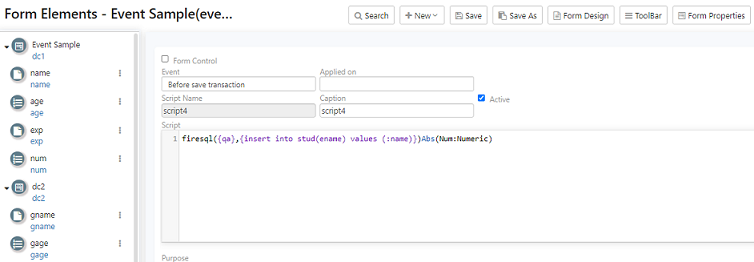
Write a script to insert a name
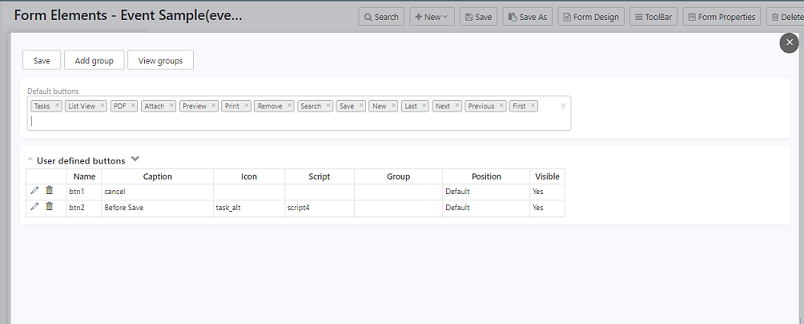
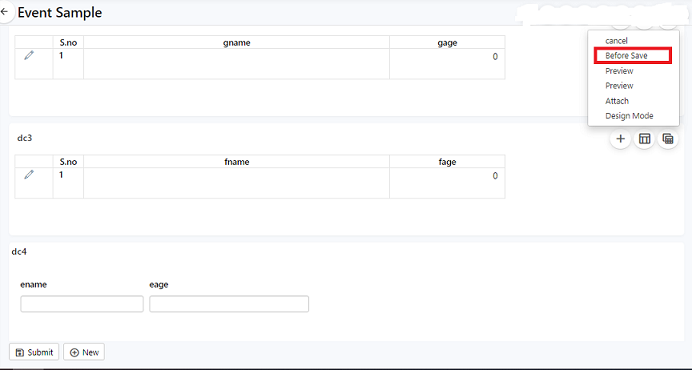
Create a button for ‘Before save’ using the option available in Toolbar.
Navigate to the run site and insert a value into the table, click on the ‘Before save’ button without submitting the entered value.
The value entered should reflect in the ‘stud’ table as shown
2. Click on ‘After Save Transaction’ from the dropdown.
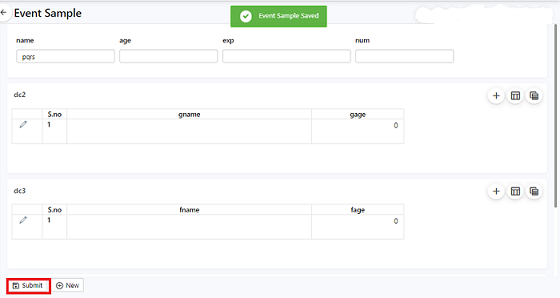
Write a script to insert a name into the ‘stud’ table and choose ‘After Save transaction’ from the dropdown.
The value ‘pqrs’ should reflect in the stud table after submission.
3. Click on ‘Before Delete Transaction’ from the dropdown.
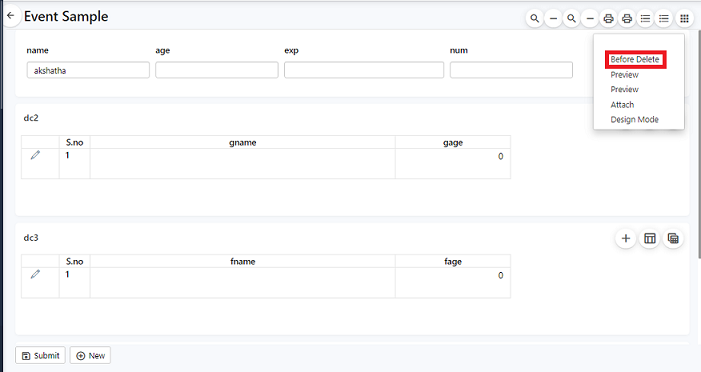
Write a script to delete a name from the table, and create a button ‘Before Delete’ using the option available in the toolbar.
Check the entries in the SQL window to verify the deletion.
4. Click on ‘ Before Cancel Transaction’ from the dropdown.
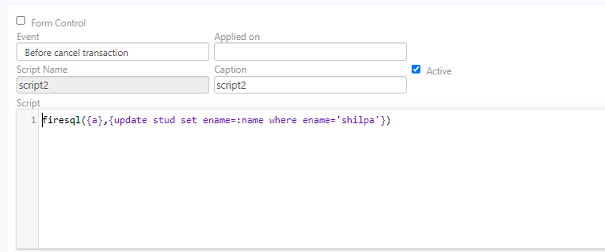
When you want to perform an action before canceling the transaction, which will reflect the changes only in the SQL table. Write a script to cancel a transaction from the table, and create a button using the option available in the toolbar.
Workflow related Events
To enable workflow-related events, Create a form and create related user roles and responsibilities.
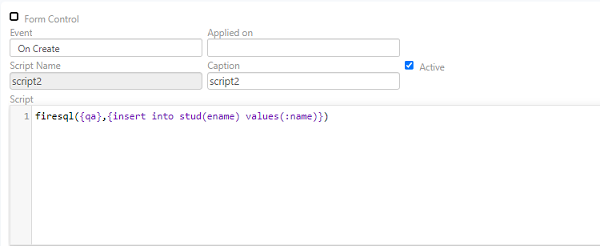
1. Click on ‘On Create’ from the dropdown.
Write a script to insert the value into the stud table and execute it on the run site.
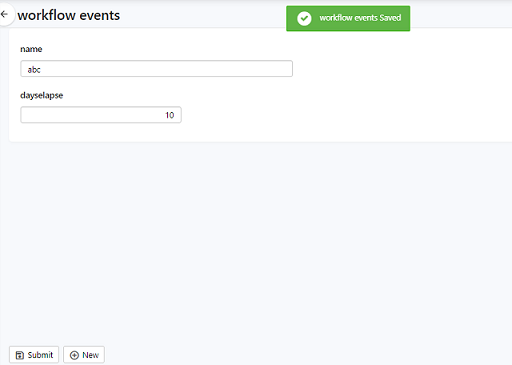
Enter the value and save it to successfully create a workflow.
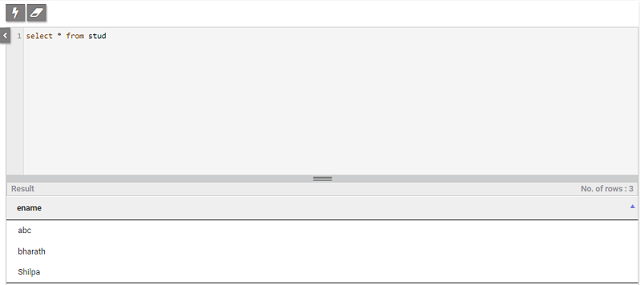
Verify the insertion of the value from the SQL window.
2. Click on ‘ On approve’ from the dropdown.
Write a script to insert the value into the table after approval from the manager.
Ex: firesql code
Then got to the run site and enter a value in the form, go to list view, and find the value which is directed for approval from the manager.
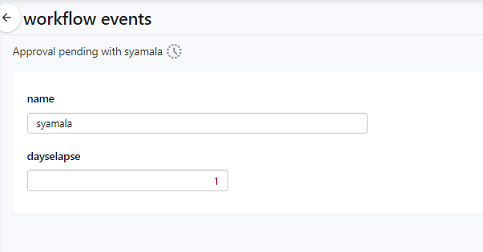
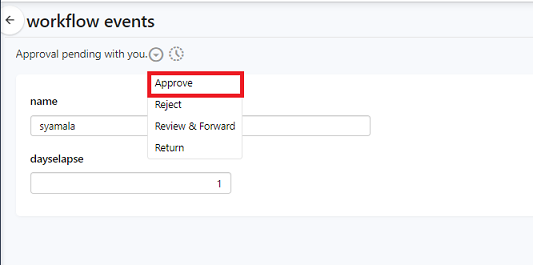
Log in as manager and approve the transaction.
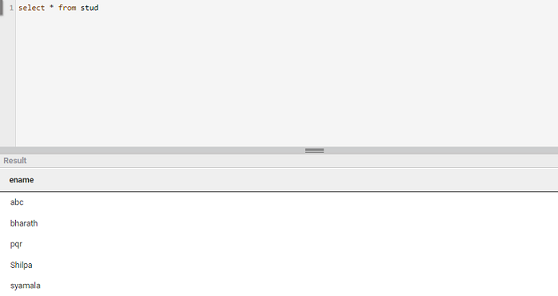
The value should be inserted into the stud table as shown.


