Axpert 11
TStructs (Forms)
- Create Form
- Create DC
- Create Fields
- Grid DC/frames
- Formulae in fields
- SQL in fields
- Drop down fields
- Autogenerate fields
- Table fields
- File upload fields in forms
- Photos &Image fields
- Barcode /QR Code Scanner
- Fill Grid
- Posting data – Gen maps
- Updating fields in DB tables – MD Map
- Toolbars in tstructs
- Tracking changes/Audit trial
- Try it yourself
IViews
Scripts
Axpert Jobs
Axpert Cards
HTML Plug-ins
Users & Roles
- Users, roles & responsibilities
- Responsibilities
- User Role
- User Login
- SSO Authentication
- Stay Sign In
Workflow
Axpert API
Application Var/Params
Publish Axpert Apps
Axpert Mobile
Settings
- Axpert installation
- Change password
- Forgot Password
- Developer Options
- Global Settings
- In-Memory DB
- Notifications for Long Running Webservice’s
- Axpert Configuration on web
- Axpert Licensing
Utilities
Customization
- Main Page Customization
- Home Page Customization
- More API
- Custom User Interface
For Reports - Custom HTML In Forms
- CSS And JS Customization
- Developer Notes
- Hooks In Forms
- Third Party SSO Integration
WebServices
Axfast
Custom User Interface For Reports
The user interface of IViews can be customized to change the look and feel. This is done by doing the following steps.
- Create HTML using Handlebars expression format. Refer Handlebars reference website.
- Handlebars template will refer iview column names as expressions.
- Handlebars will add flexibility of writing expressions, conditions and loops in html.
- This Template may be repeated for every row.
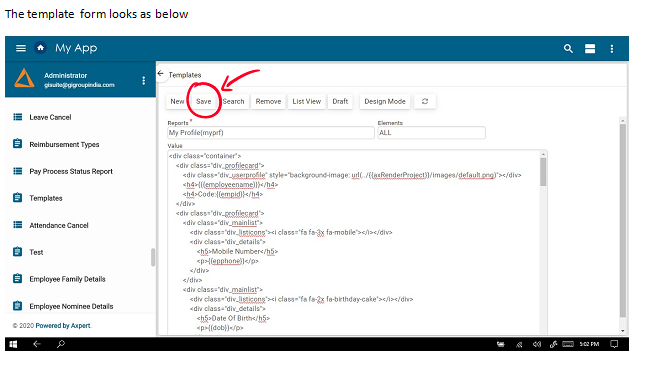
- Once the HTML is ready, open the templates open form menu in Axpert dot net
- Enter the iview name,
- Copy the HTML into the text box and save. Select “All” in the Events field.
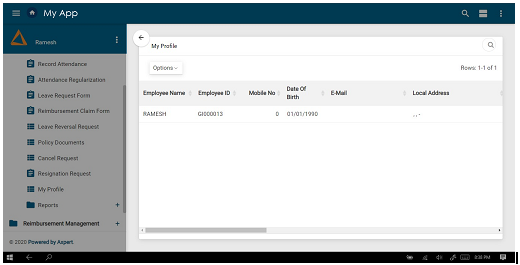
Consider an IVIew that returns a single row as below:
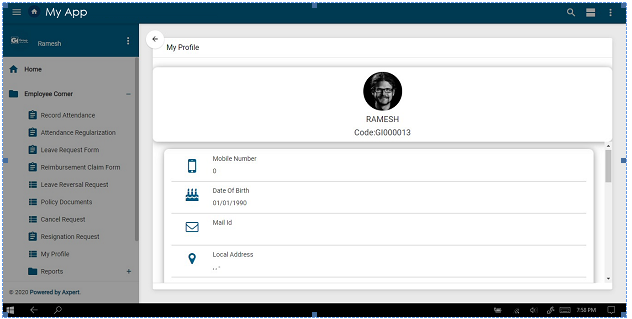
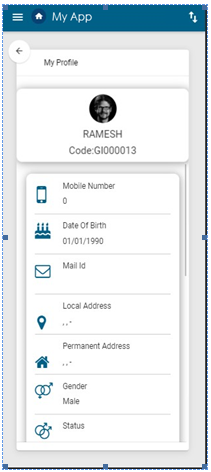
This iview can be changed as below:
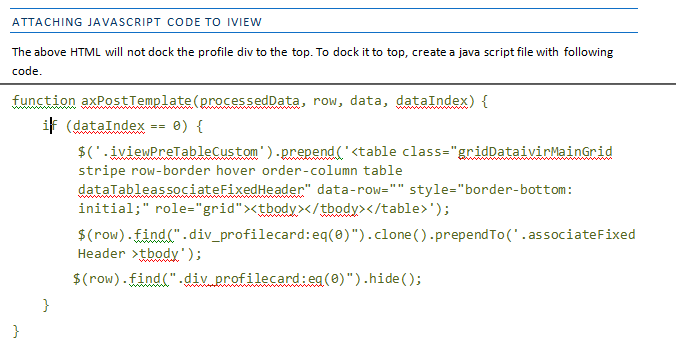
Copy this jS file to the webcode root\<projectname>\js\ThisFile.js. The <projectname> is the actual project name.
A reference to this file should be added in custom.cs as below
AddCustomLinkToIView(“ivname”, “js/MyProfileView.js”);
ATTACH CUSTOM CSS TO IVIEW
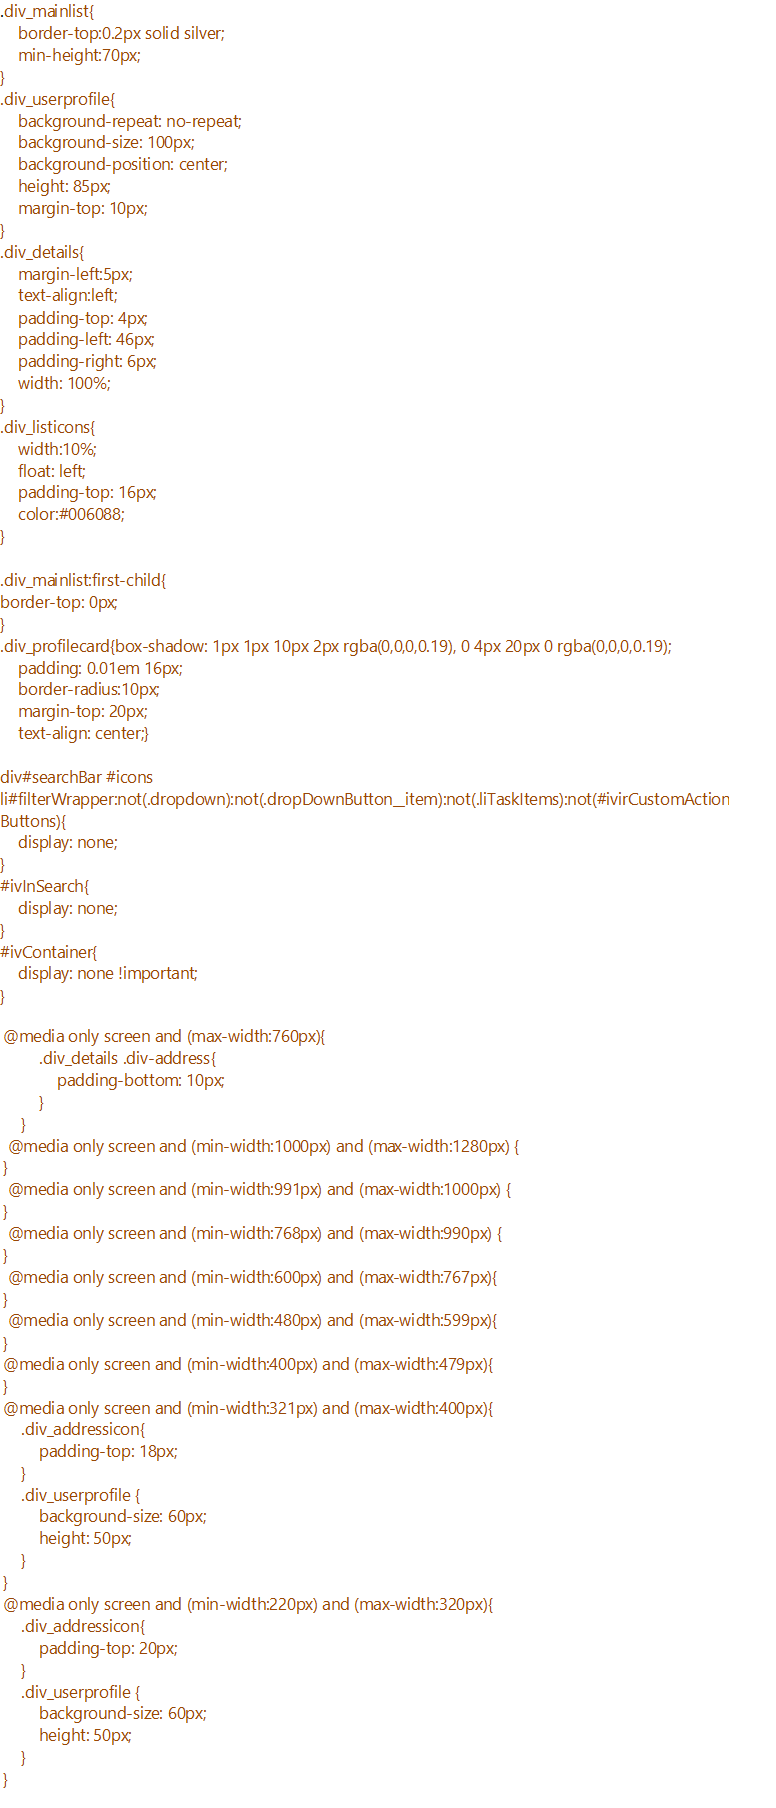
You can now attach a CSS file to an Iview. In this example you can attach CSS to position the controls appropriately, hiding the tool bar and making this HTML responsive. A sample CSS is provided below that is relevant to this example.
The CSS should be saved into a file with any name. In this case let us consider the name as MyProfileView.CSS. This file should be copied to webcode root\<projectname>\css\ folder.
A reference to this file should be added in custom.cs as below
AddCustomLinkToIView(“ivname”, “Css/MyProfileView.css”);
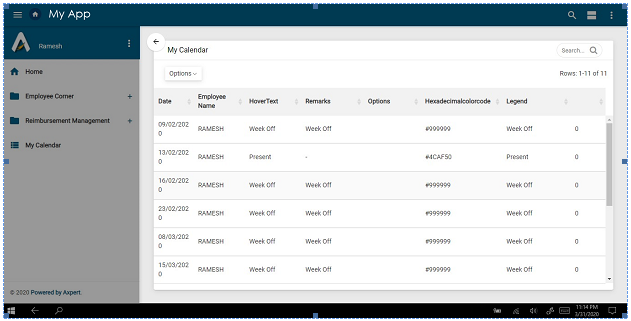
CUSTOM IVIEWS WITHOUT HANDLEBAR TEMPLATES
Consider an Iview as below that needs to be changed as given in the pic below:
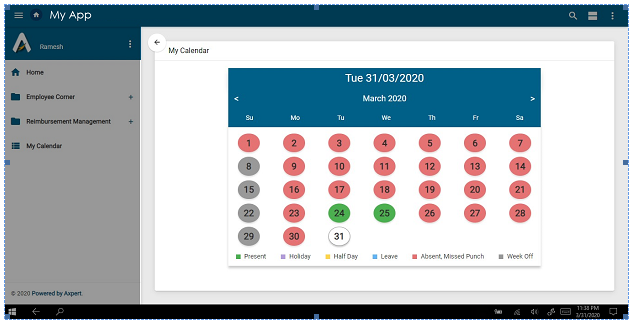
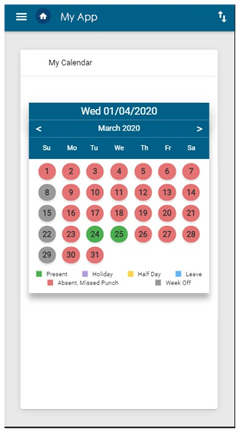
This iview can be changed as below
Steps:
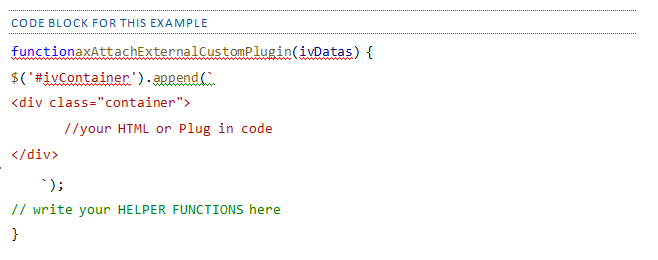
- Create a new javascript file that contains a function named axAttachExternalCustomPlugin. The required custom code should be written within this function.
- Copy this jS file to the webcode root\<projectname>\js\ThisFile.js. The <projectname> is the actual project name.
- A reference to this file should be added in custom.cs as below
- AddCustomLinkToIView(“ivname”, “js/MyProfileView.js”);
- IfaxAttachExternalCustomPluginfunction is referred then existing iview table will not be drawn instead developer have to append generated data/html to $(“#GridView2Wrapper”)


